
Filters in HubSpot CRM narrow your contacts, companies, deals or tickets down by any property, so you can focus on high-priority work. Open the records, choose a view, click Filters, set the property, condition and value, and save the view if you want to reuse it. Here is how to create, apply and save filters effectively.
What are CRM filters?
HubSpot filters allow you to narrow down your contacts, companies, deals or tickets by specific properties. For example, you can create a filter to:
- View contacts in the “Lead” lifecycle stage who haven’t been contacted in the last 7 days.
- Find deals in your pipeline expected to close this month.
- Track companies with annual revenue above a certain threshold.
Using filters effectively can help you prioritise follow-ups, uncover opportunities and make data-driven decisions.
How to create a filter
-
Access your records. Navigate to the section you want to filter, such as Contacts, Companies, Deals or Tickets.
-
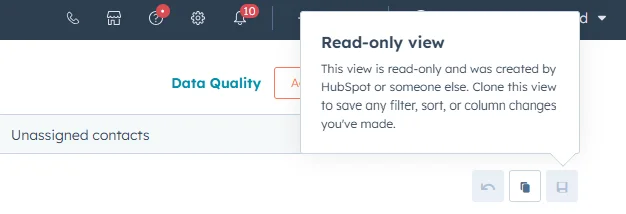
Select a view. Click the view you want to apply the filter to. If you need to save the filter you’re about to create, you may need to create a new view or clone an existing one.
-
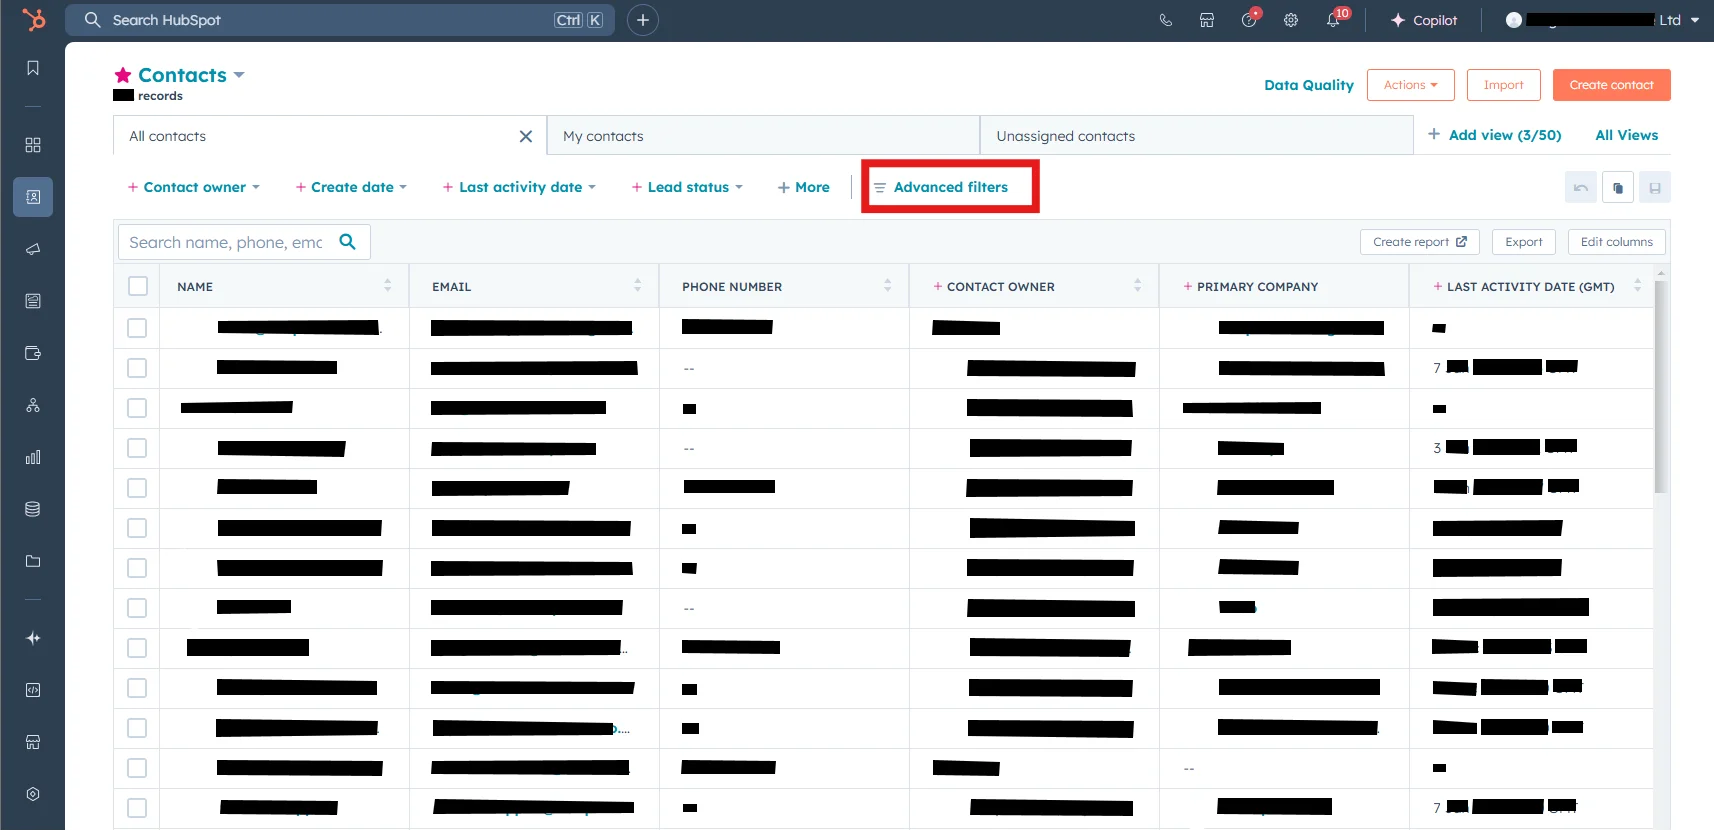
Open the filter panel. Click the “Filters” button at the top of the records table.
-
Define your filter criteria.
- Choose a property to filter by, such as “Lifecycle stage”, “Last activity date” or “Deal amount”.
- Select a condition, such as “is”, “is not”, “contains” or “does not contain”.
- Enter the value for the condition.
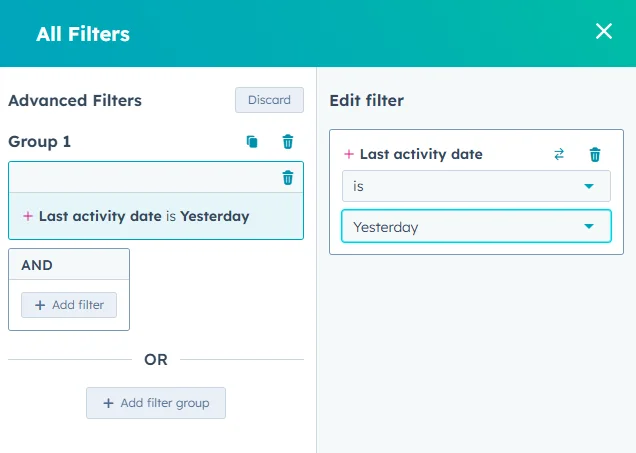
Example: to find leads who were last contacted within the past week:
- Property: Lifecycle stage
- Condition: is
- Value: Lead
- AND Property: Last contacted
- Condition: is less than
- Value: 7 days ago
-
Apply the filter. The filter applies automatically as you create it.
-
Close “Advanced filters”. Once you have created the filters you need, click the X to close the filters panel.
-
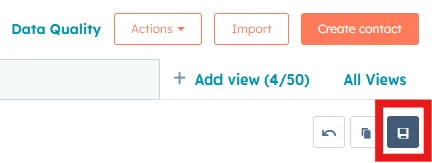
Save the filter (optional). If you plan to reuse this filter, click “Save view”. The filter will now be the default filter for the current view tab.
Managing filters
- Use descriptive names. Clearly name your saved filters to make them easy to identify.
- Combine multiple criteria. Refine your filters by using AND/OR logic. For instance, find leads who visited your website in the last 30 days AND downloaded an eBook.
- Share filters with your team. Saved filters can be shared with your team, so everyone has access to the same data views.
- Regularly update saved filters. Review your saved filters periodically to keep them relevant. Delete outdated ones and adjust criteria as needed.
Why use filters?
Filters simplify data management by:
- Highlighting actionable insights.
- Saving time by focusing on the most relevant records.
- Supporting better collaboration by providing consistent views across your team.